Issue
In some scenarios it is necessary to route the DRVA management/data network over a particular gateway.
Solution
The following steps describe how to change the default gateway used by a DRVA.
JetStream DR Version 4.1.16
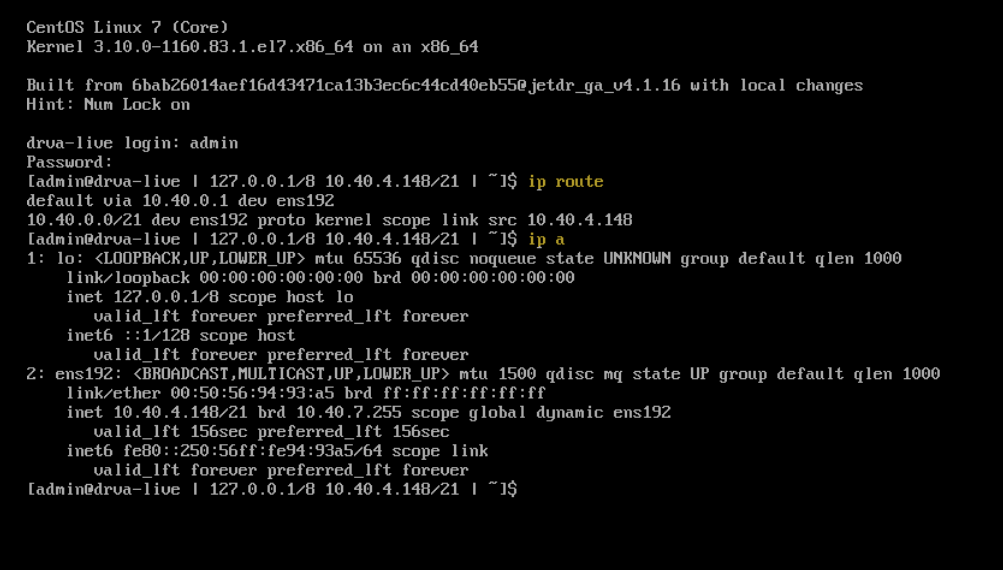
- From vCenter launch the DRVA VM web console and log in to the DRVA using admin credentials.
- From the DRVA web appliance run the commands (ip route) and (ip address) to verify the default gateway and IP configuration of the DRVA.
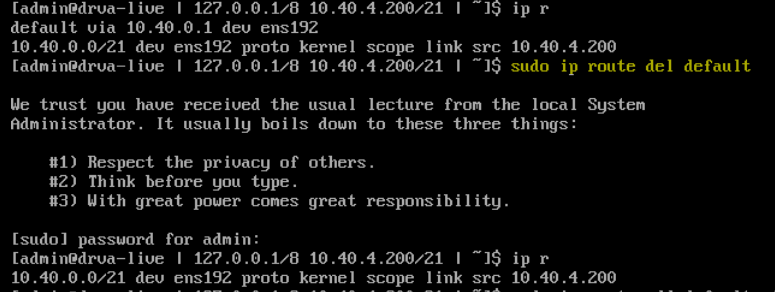
- Delete the default gateway by running the command:
sudo ip route del default- Note: The Admin password is required.
- Add a new default gateway by running the command:
sudo ip route add default via <gateway_IP>- Note: The Admin password is required.

- After changing the gateway of the DRVA, validate its new default gateway by running the command:
ip route or ip r.
JetStream DR Version 4.1.18 (and above)
Starting with JetStream DR version 4.1.18, it is possible to add additional network routes from the GUI.
- In the JetStream DR GUI navigate to: Appliances > Settings > Add.
- Using the GUI, apply any required additional network routes.