Select VMs for Protection
Start by adding VMs to protect to a Protected Domain.
- Go to the Protected Domains screen.
- If multiple Domains have been created, select one from the drop-down menu.
- Click the Start Protection button.
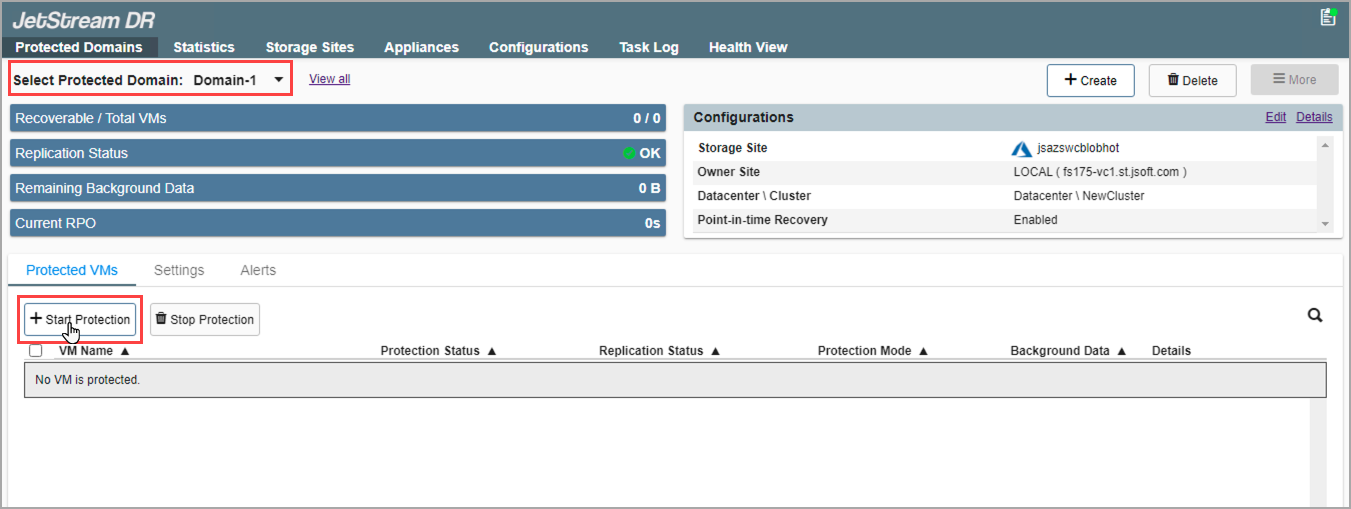
Figure 95: Start VM protection.
Note: While VMs are being protected this step can be repeated to select a different Domain to protect additional VMs.
- A pop-up dialog window will display all the VMs of the cluster that can be protected.
- Select VMs to protect from the list.

Figure 96: Select VMs to protect.
Important: DO NOT protect the JetStream MSA (Management Server Appliance) or replication/recovery appliances (e.g., DRVA, RocVA, RVM) with JetStream DR. Doing so will cause the software to fail.
- Specify a write protection mode to use for each VM.
- Write-through and write-back modes are available.

Figure 97: Specify VM protection mode.
Note: Although this example illustrates a mix of protection modes, it is a best practice to use the same protection mode for all VMs of a Domain.
Also see: