Configure Runbook Groups
VMs of the Protected Domain can be customized with runbook settings and grouped together in a "runbook group" where the VMs will be restored according to a user specified boot sequence and boot delay.
- Click the Create Group button to create a new runbook group.
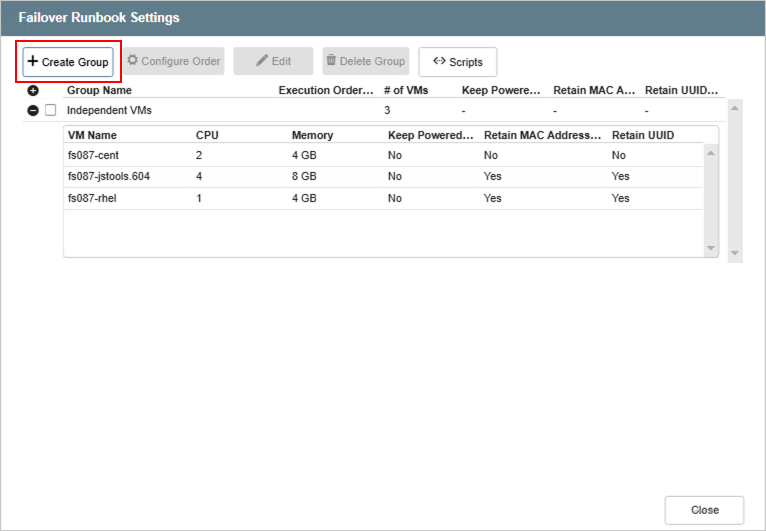
Figure 111: Create a runbook group.
- Follow the guided steps of the pop-up dialog window.
Step: General
- Enter a name for the runbook group.
- If needed, in the lower portion of the screen apply custom pre- and post- scripts to automatically run prior to and following operation of the runbook group.
- Click the Next button.
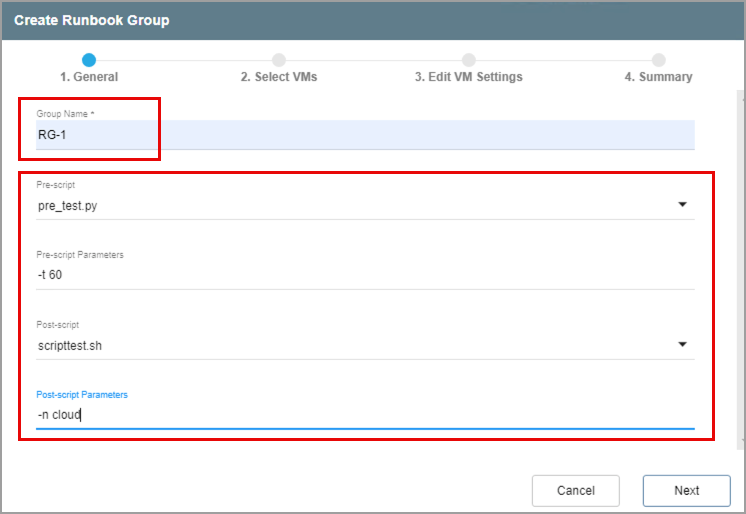
Figure 112: Enter general runbook settings.
Step: Select VMs
- Select VMs from the list to include in the runbook group.
- Only Independent VMs that are not currently associated with other runbook groups will appear in the selection list.
- Click the Next button.
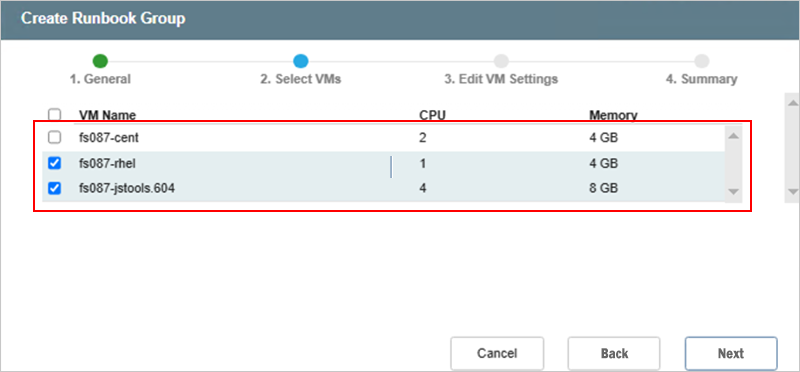
Figure 113: Select VMs to include in the runbook group.
Step: Edit VM Settings
- Specify parameters for recovering the VMs, including: boot sequence, boot delay (specified in seconds), # of CPUs, and amount of memory to allocate.
- Click any displayed parameter value to edit its setting.
- The boot sequence of a VM can be changed by dragging it to a new position on the list.
- A post-script can be applied to each individual VM of the group and will run immediately after the VM is processed.
- Click an Add link under the Script column to apply a runbook post-script to a VM.
- Options to Retain MAC, Power Off VMs, and Retain UUID can be applied to all VMs of the runbook group.
- Retain MAC: preserves the existing MAC address values for each VM's virtual NICs so they will continue to use their original MAC address after they are restored.
- Keep VMs Powered Off: keeps the recovered VMs in a powered off state. By default, VMs are powered-on automatically upon recovery.
- Retain UUID: preserves the VM instance UUID of the protected VMs ensuring they will remain unchanged after recovery.
- These settings are applied when the runbook group is executed.
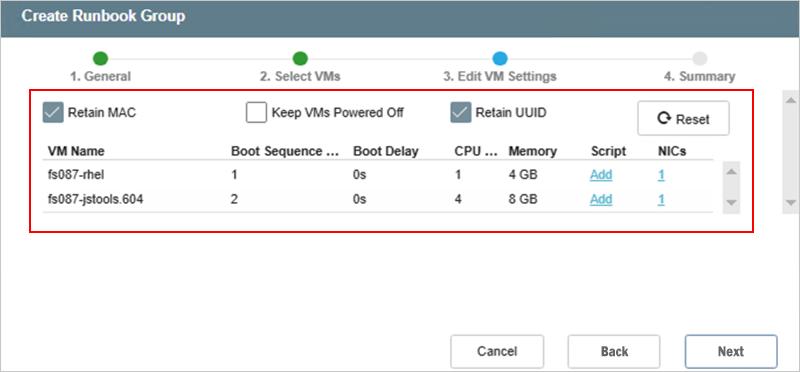
Figure 114: Specify runbook recovery settings for the VMs.
- Static IP addresses can be manually configured for individual VMs of the group.
- Click the numbered link under the NICs column for a VM to manually configure its IP address settings.
- The number indicates the number of NICs currently assigned to the VM.
- A window will appear allowing you to edit individual network settings of the VM.
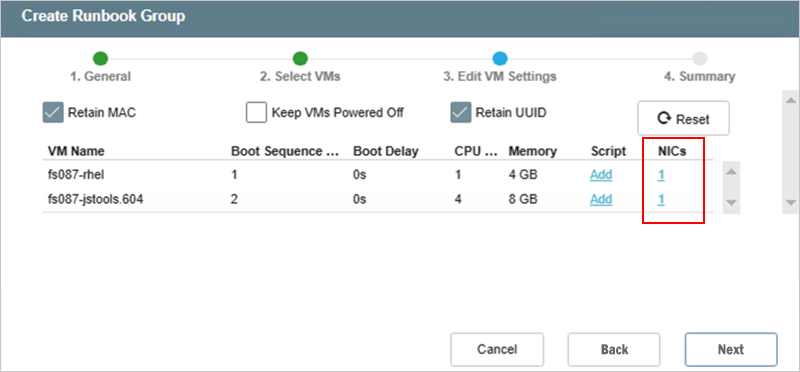
Figure 115: Configure VM network settings.
- In the Configure Static IP Address window:
- Specify IP address details for the NIC.
- Click the Configure button to save the NIC settings for the VM.
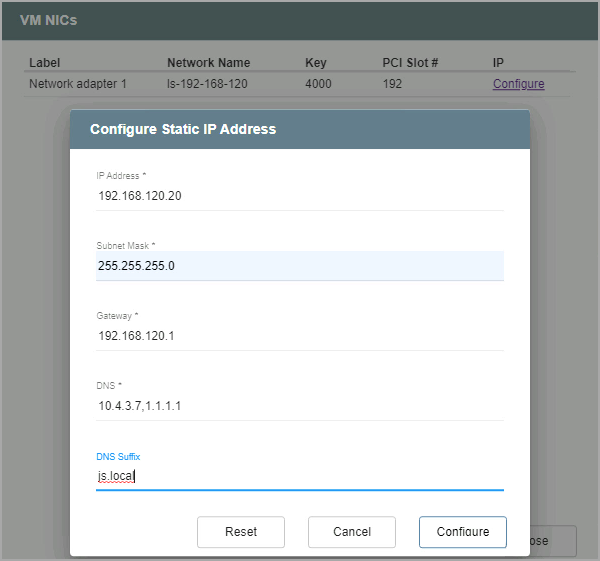
Figure 116: Configure static IP (optional).
Step: Summary
- Review all entered settings on the Summary step.
- Use the Back button to modify any settings that need to be changed.
- If the settings are correct, click the Create button.
- The runbook group will be created.
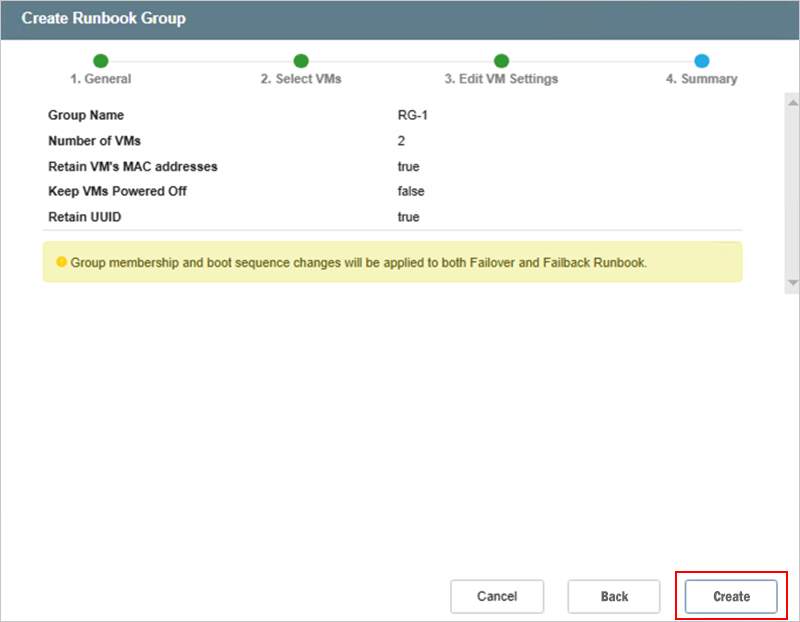
Figure 117: Review details and create the runbook group.
- The status of both failover and failback runbooks will now appear as “Configured.”
- Failover and failback runbooks are created in pairs using the same initial group of VMs and settings.
- If necessary, the settings of either runbook can be independently customized by clicking its respective Details link and making changes.
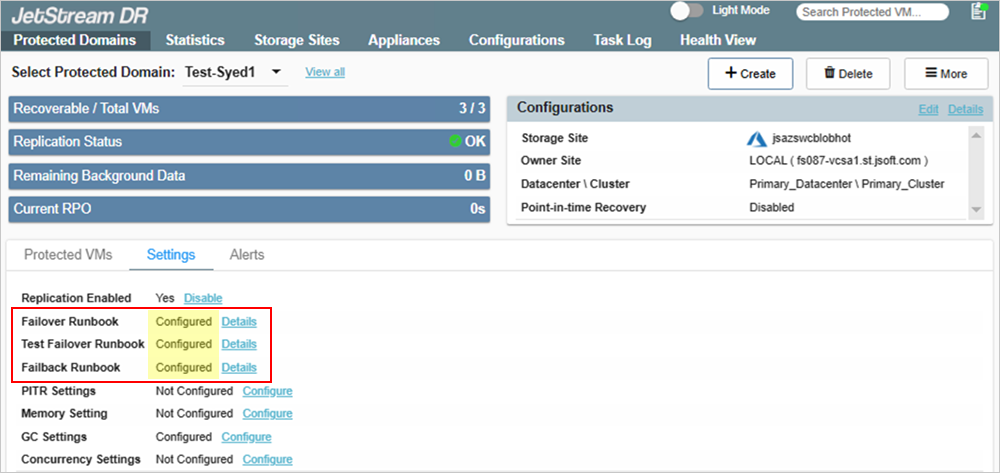
Figure 118: Runbooks are now configured.
Notes:
1) Failover and failback runbooks are always created in matched pairs, but their configuration settings can be customized individually.
2) The boot sequence of VMs is the same for both runbooks of the pair (failover and failback). Changing one automatically changes the other; they cannot be made different from one another.
3) Failback runbook settings can be customized while failover is running.
- Coming back to the details screen of a runbook will display its configured runbook groups and independent VMs.
- To modify an existing runbook group, select the checkbox next to the runbook group name then click the Edit button.
- Directly edit settings, as necessary.
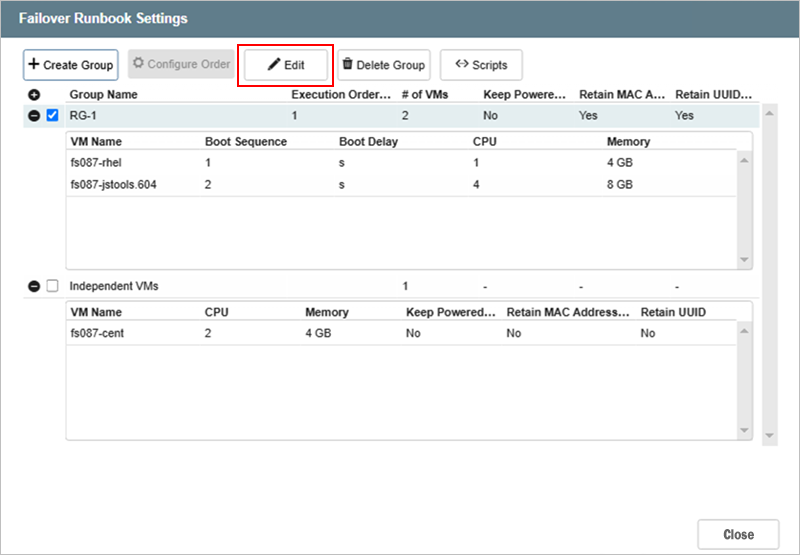
Figure 119: Edit a runbook's settings.
- Click the Create Group button to construct a new runbook group.
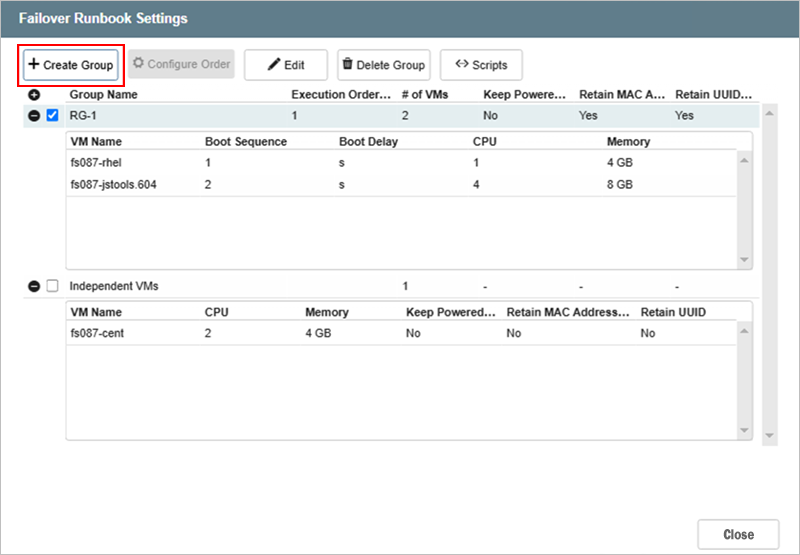
Figure 120: Edit a runbook's settings.
Note: When constructing a new runbook group, you will only be able to select from the list of Independent VMs. VMs cannot simultaneously belong to multiple runbook groups.
- To customize the startup order of multiple runbook groups, click the Configure Order button.
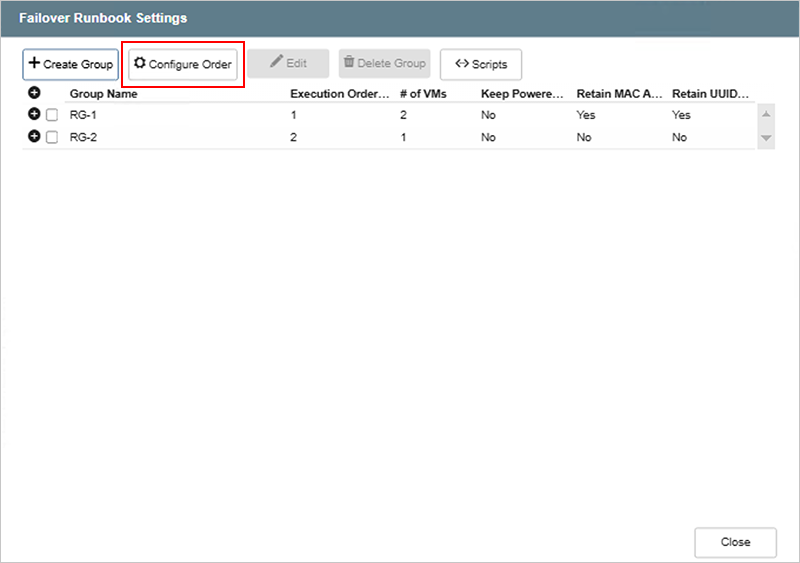
Figure 121: Click the Configure Order button.
- A window will appear showing the runbook groups of the Domain and their execution order.
- Drag the runbook groups into the desired startup order.
- Click the Configure button to save the setting.
- Runbook groups will be processed in their specified execution order during the recovery process.
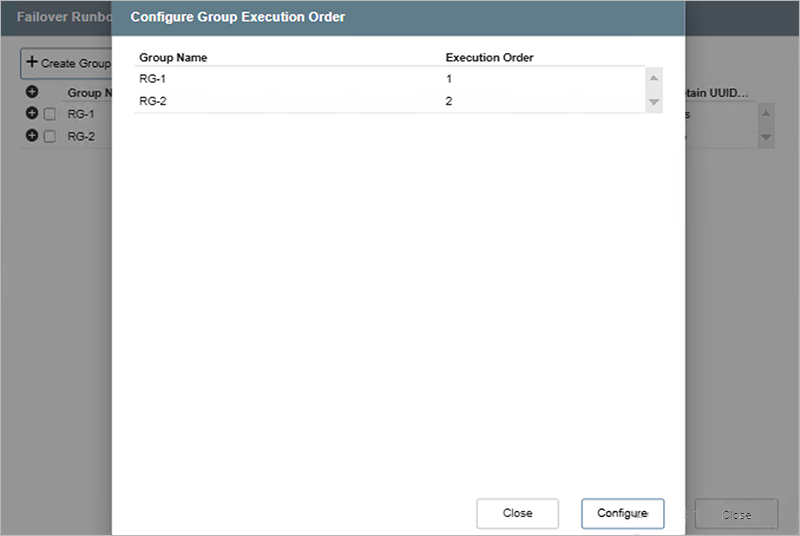
Figure 122: Configure the startup order of runbook groups.