This article explains how to update the static IP address of a DRVA virtual machine. These instructions are applicable for both dual and single network DRVAs.
Instructions
- Before proceeding, ensure that the DRVA VM is powered off.
- Right-click the DRVA VM and select Edit Settings from the context menu.
- In the Edit Settings window, navigate to the VM Options tab.
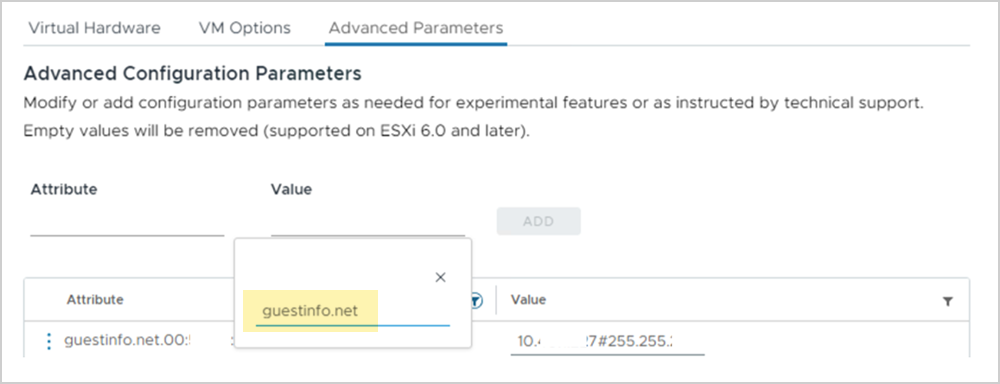
- Scroll down to the Advanced section within the VM Options tab and select Edit Configuration to access the advanced configuration parameters.
- Filter by “guestinfo.net” to locate the network configuration parameters.

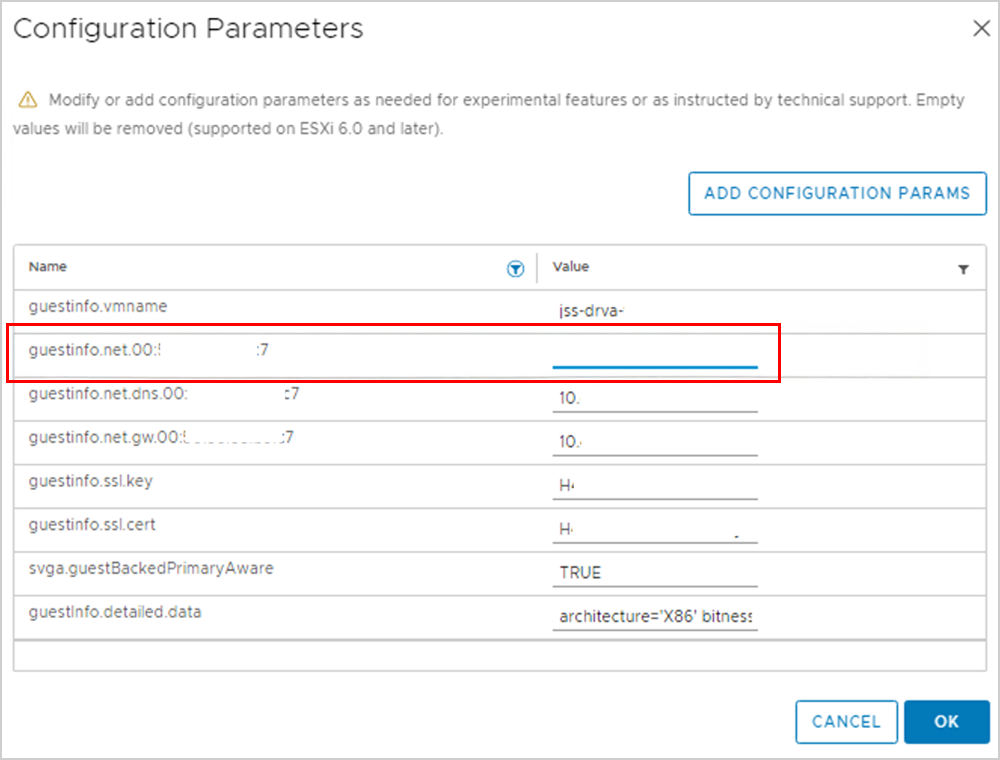
- Identify and select the relevant configuration parameter with the static IP address to be updated.

- Update the IP address to the required value.
- Save and exit the screen.
- Save and exit the screen.
- Power on the DRVA VM and ensure the IP change has been successfully applied.
- Check the current IP status using the command: ip a
- Or, the value can be verified from the JetStream DR UI: Appliances → DRVA → Details.
