IP Routing
When a JetStream appliance (i.e., DRVA, RocVA) is configured with multiple NICs, it will pass all communications through a single path by default.
To avoid network communication issues, additional entries can be added to the route table to create unique routing paths. The additional routing information can be specified in JetStream DR from the Appliances > Settings screen. Once additional IP routing information has been configured in the MSA, any appliance deployed after that should contain the necessary routing information to operate properly.
Important: Any appliances created before adding new IP route settings will not contain the route configuration. If any existing appliances require the new IP route configuration, they must be removed and then recreated.
- Go to the Appliances screen then select Settings.
- Click the Add button.
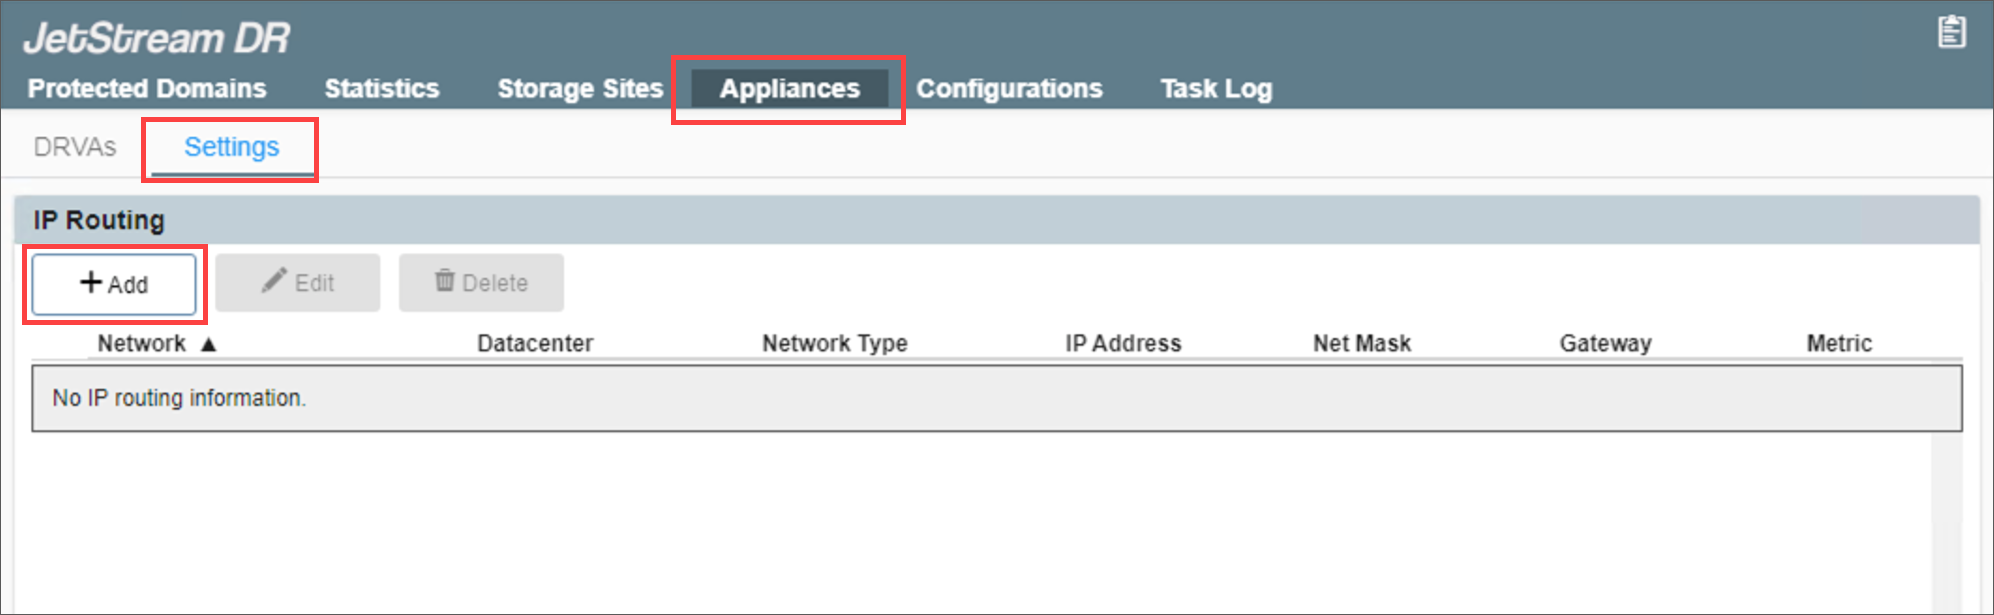
Figure 291: Set up new IP routing.
- A dialog will appear allowing IP routing details to be entered.
- Enter the required IP information.
- Click the Add button.
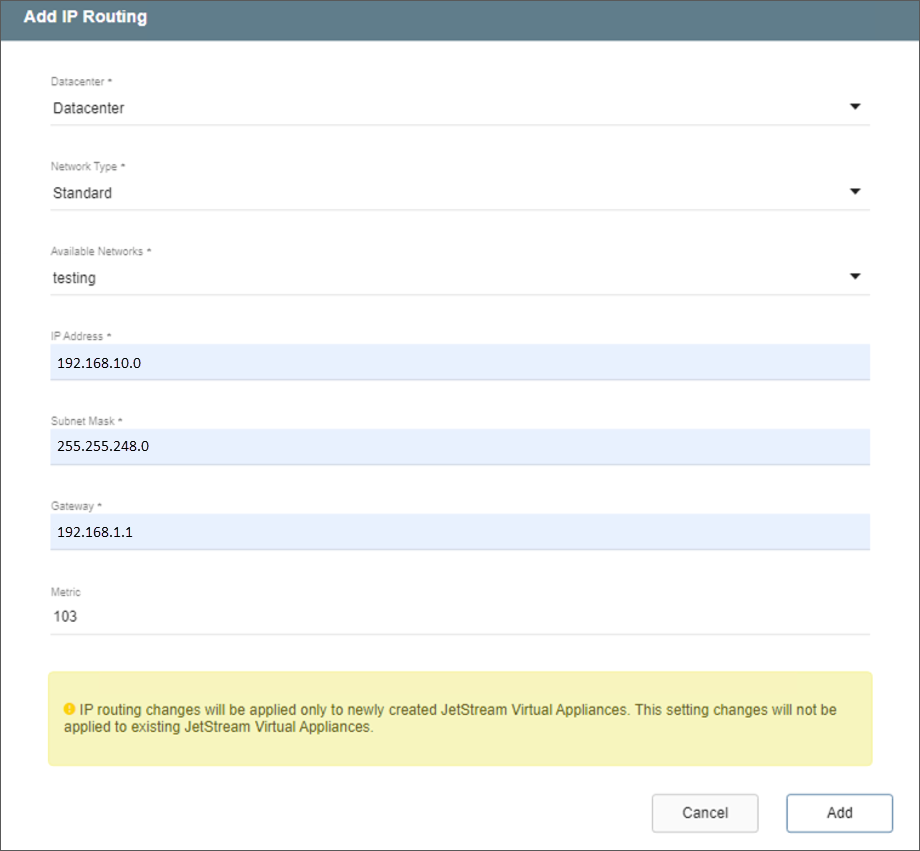
Figure 292: Enter IP routing details.
Note: IP routing will only be applied to new JetStream appliances created after the point in time when the information is entered.
- A dialog window will appear indicating the IP routing information has been successfully applied.
- Click the OK button.
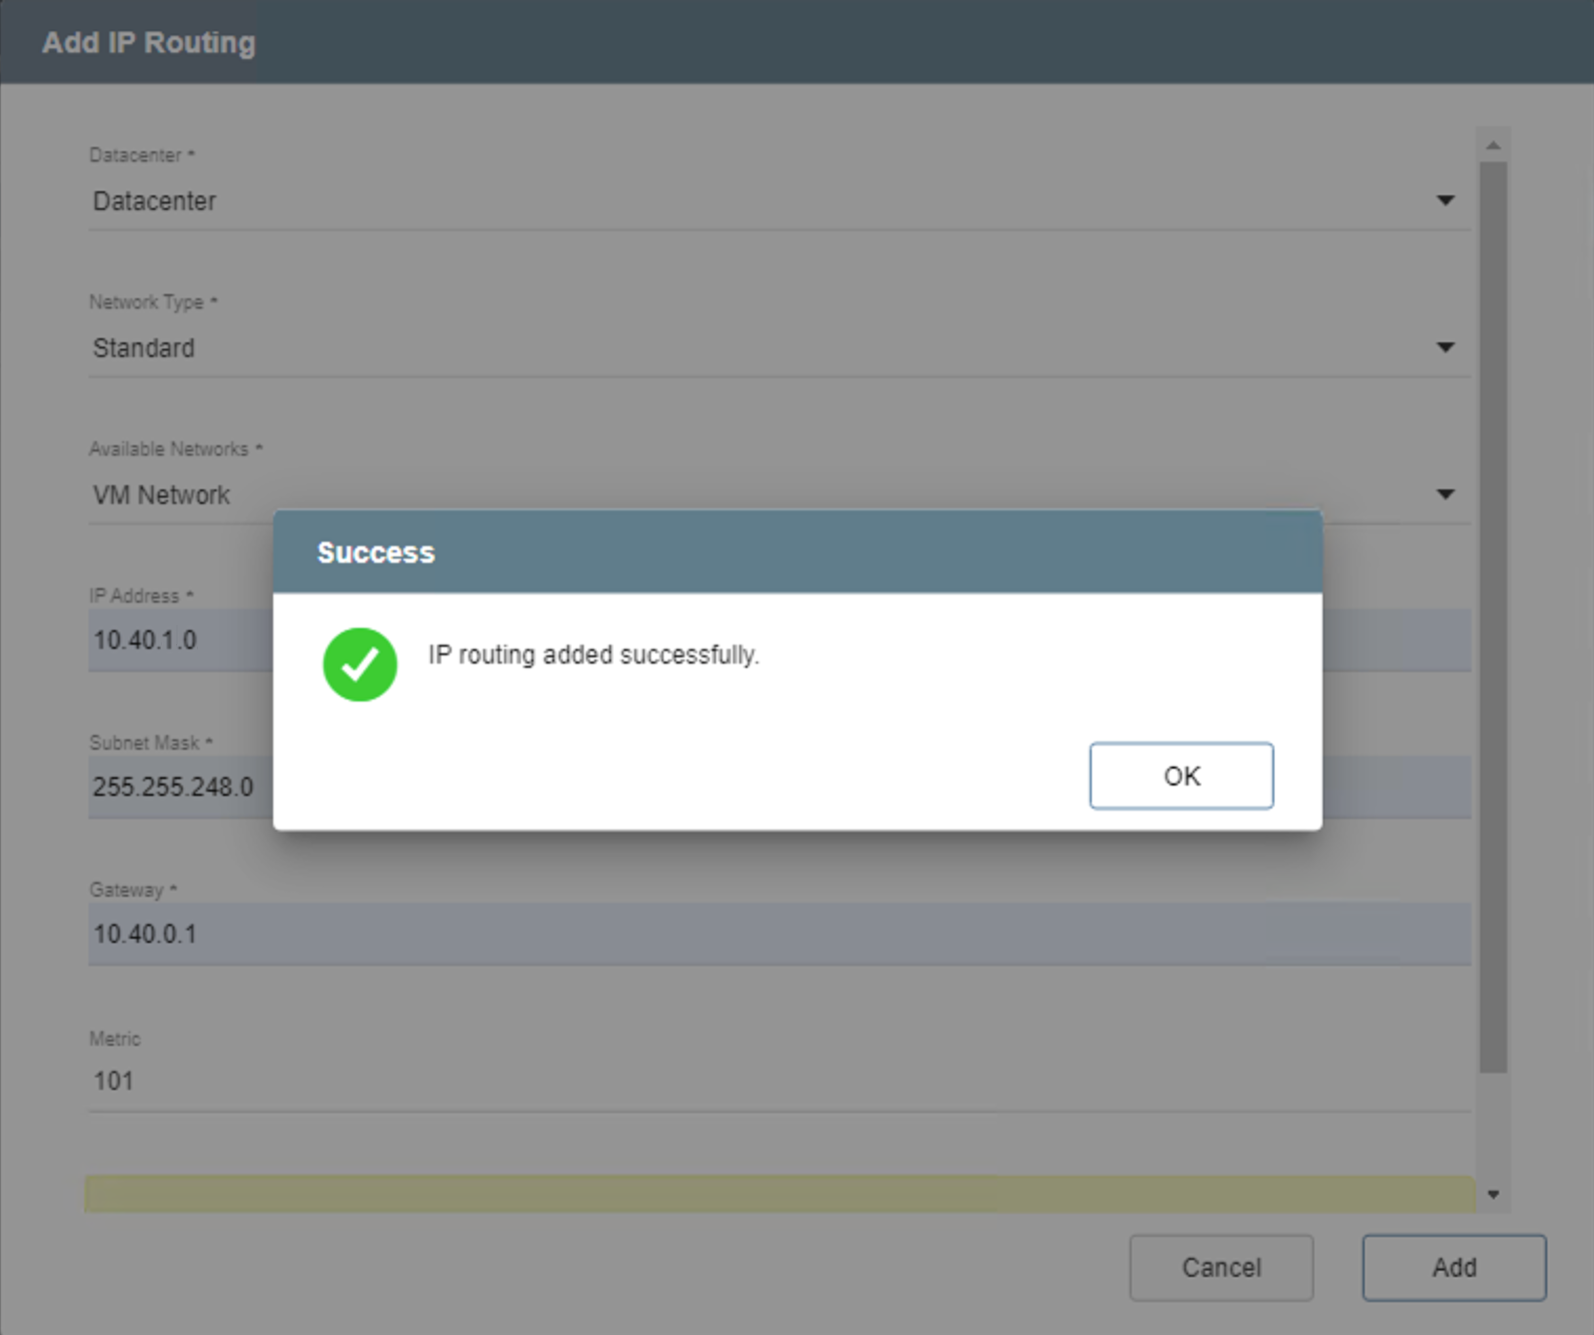
Figure 293: IP routing details saved.
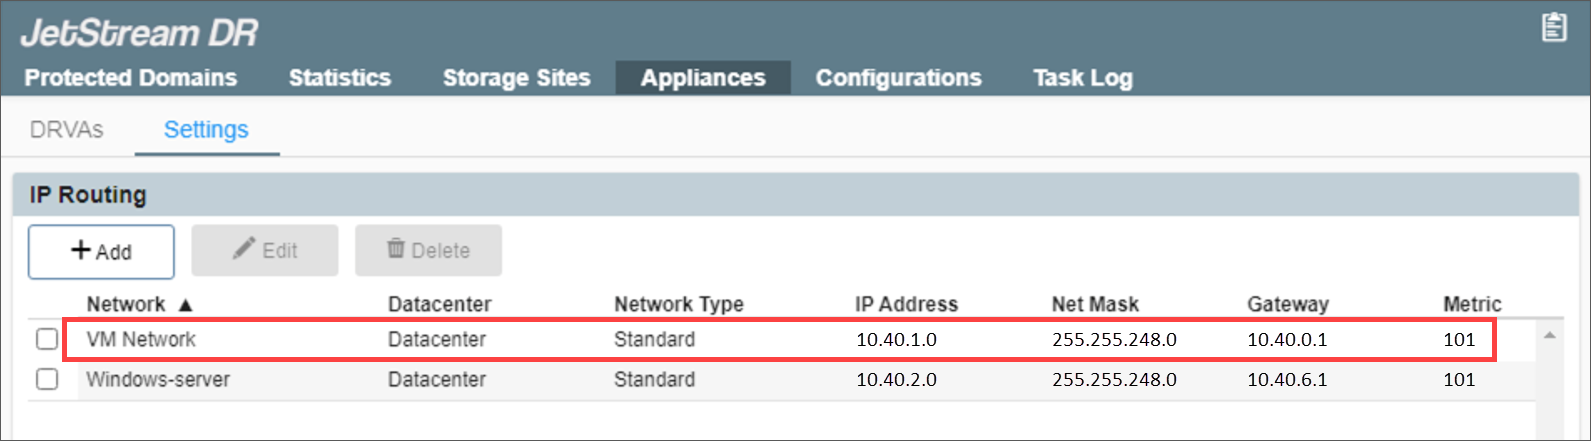
- The new IP routing information will now appear on the list and will be used by all JetStream DR appliances subsequently created.