Deploy a DRVA
To deploy a DRVA:
- Go to the Appliances tab screen click the Deploy New DRVA button.
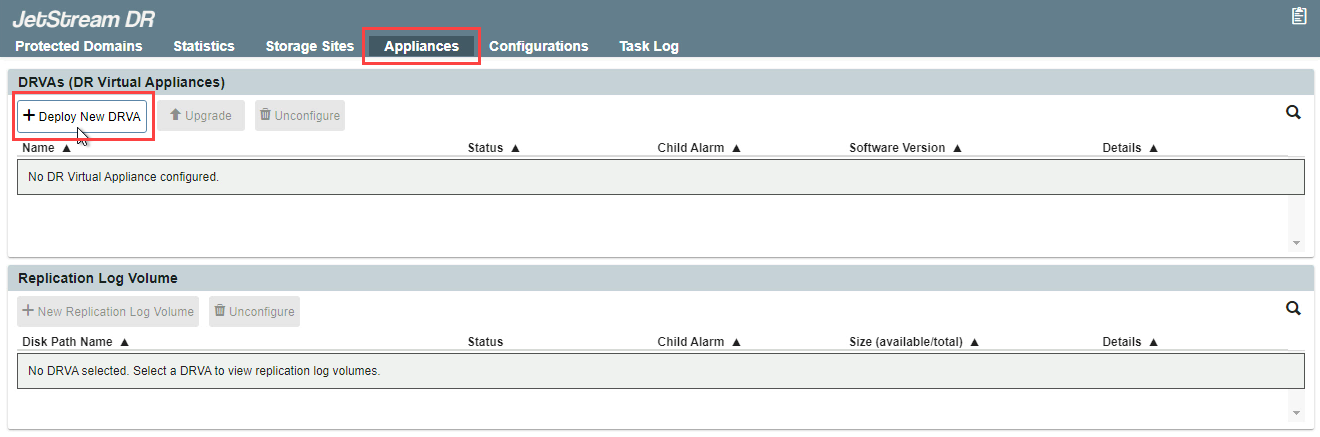
- A pop-up dialog window will appear to guide you through a multi-step deployment process.
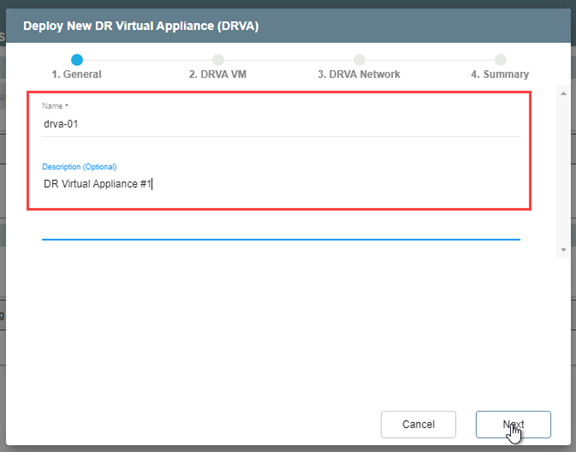
- General
- Provide a name and description for the DRVA.
- Click the Next button.
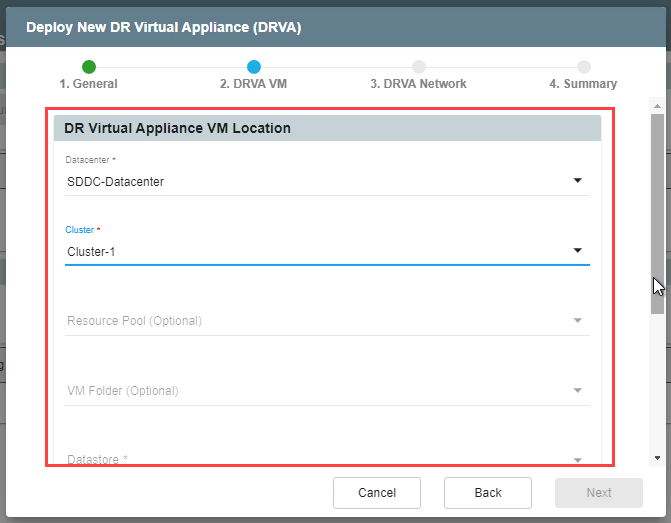
- DRVA VM
- On the upper portion of the screen, make selections from the drop-down menus to specify details about the location for the DRVA including the specific datastore on which it will reside.
- Upon deployment, the MSA will automatically upload the file drva.iso to a folder in the specified datastore.
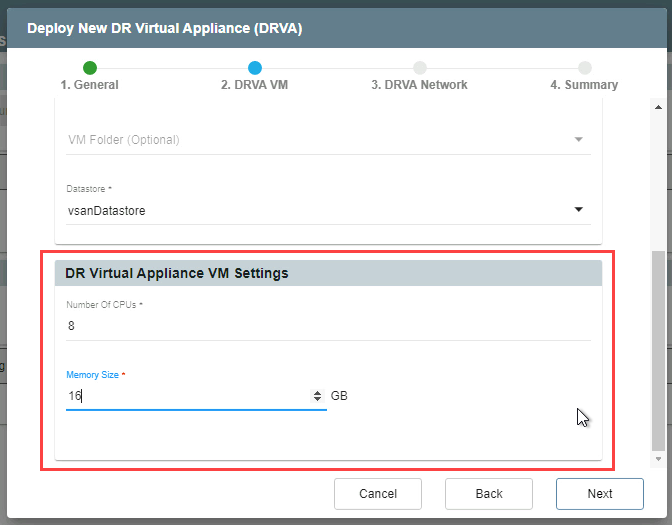
- On the lower portion of the screen, specify parameters for the DRVA.
- Recommended default parameters are: 4 CPU cores and 8GB memory.
- If necessary, these parameters can be changed later.
- Click the Next button.
- DRVA Network
- Make selections from the drop-down menus to specify the management network, internal data network, replication network, and the replication log network.
- Selecting a Static IP checkbox and clicking its Configure button will open a dialog window to allow static IP address information to be entered.
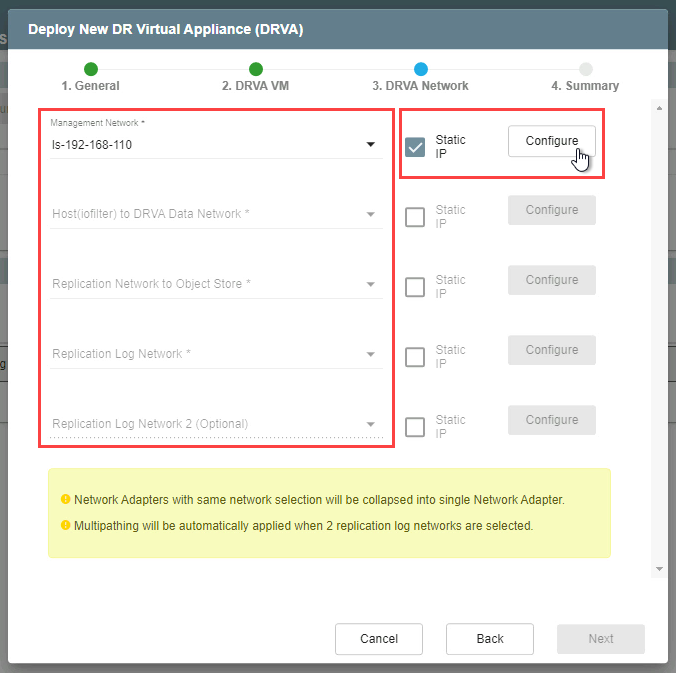
- Click the Configure button of the dialog window to save Static IP settings.
- Refer to “Chapter 2: Pre-installation” to review required network specifications.

- When finished, click the Next button to move to the next step.
- Summary
- Review all entered settings on the Summary step.
- Use the Back button to modify any settings that need to be changed.
- If the settings are correct, click the Deploy button.
- The DRVA will be deployed and will appear in the list of DRVAs under the Appliances tab.

Note: After the DRVA has been deployed, create a replication log volume on it.